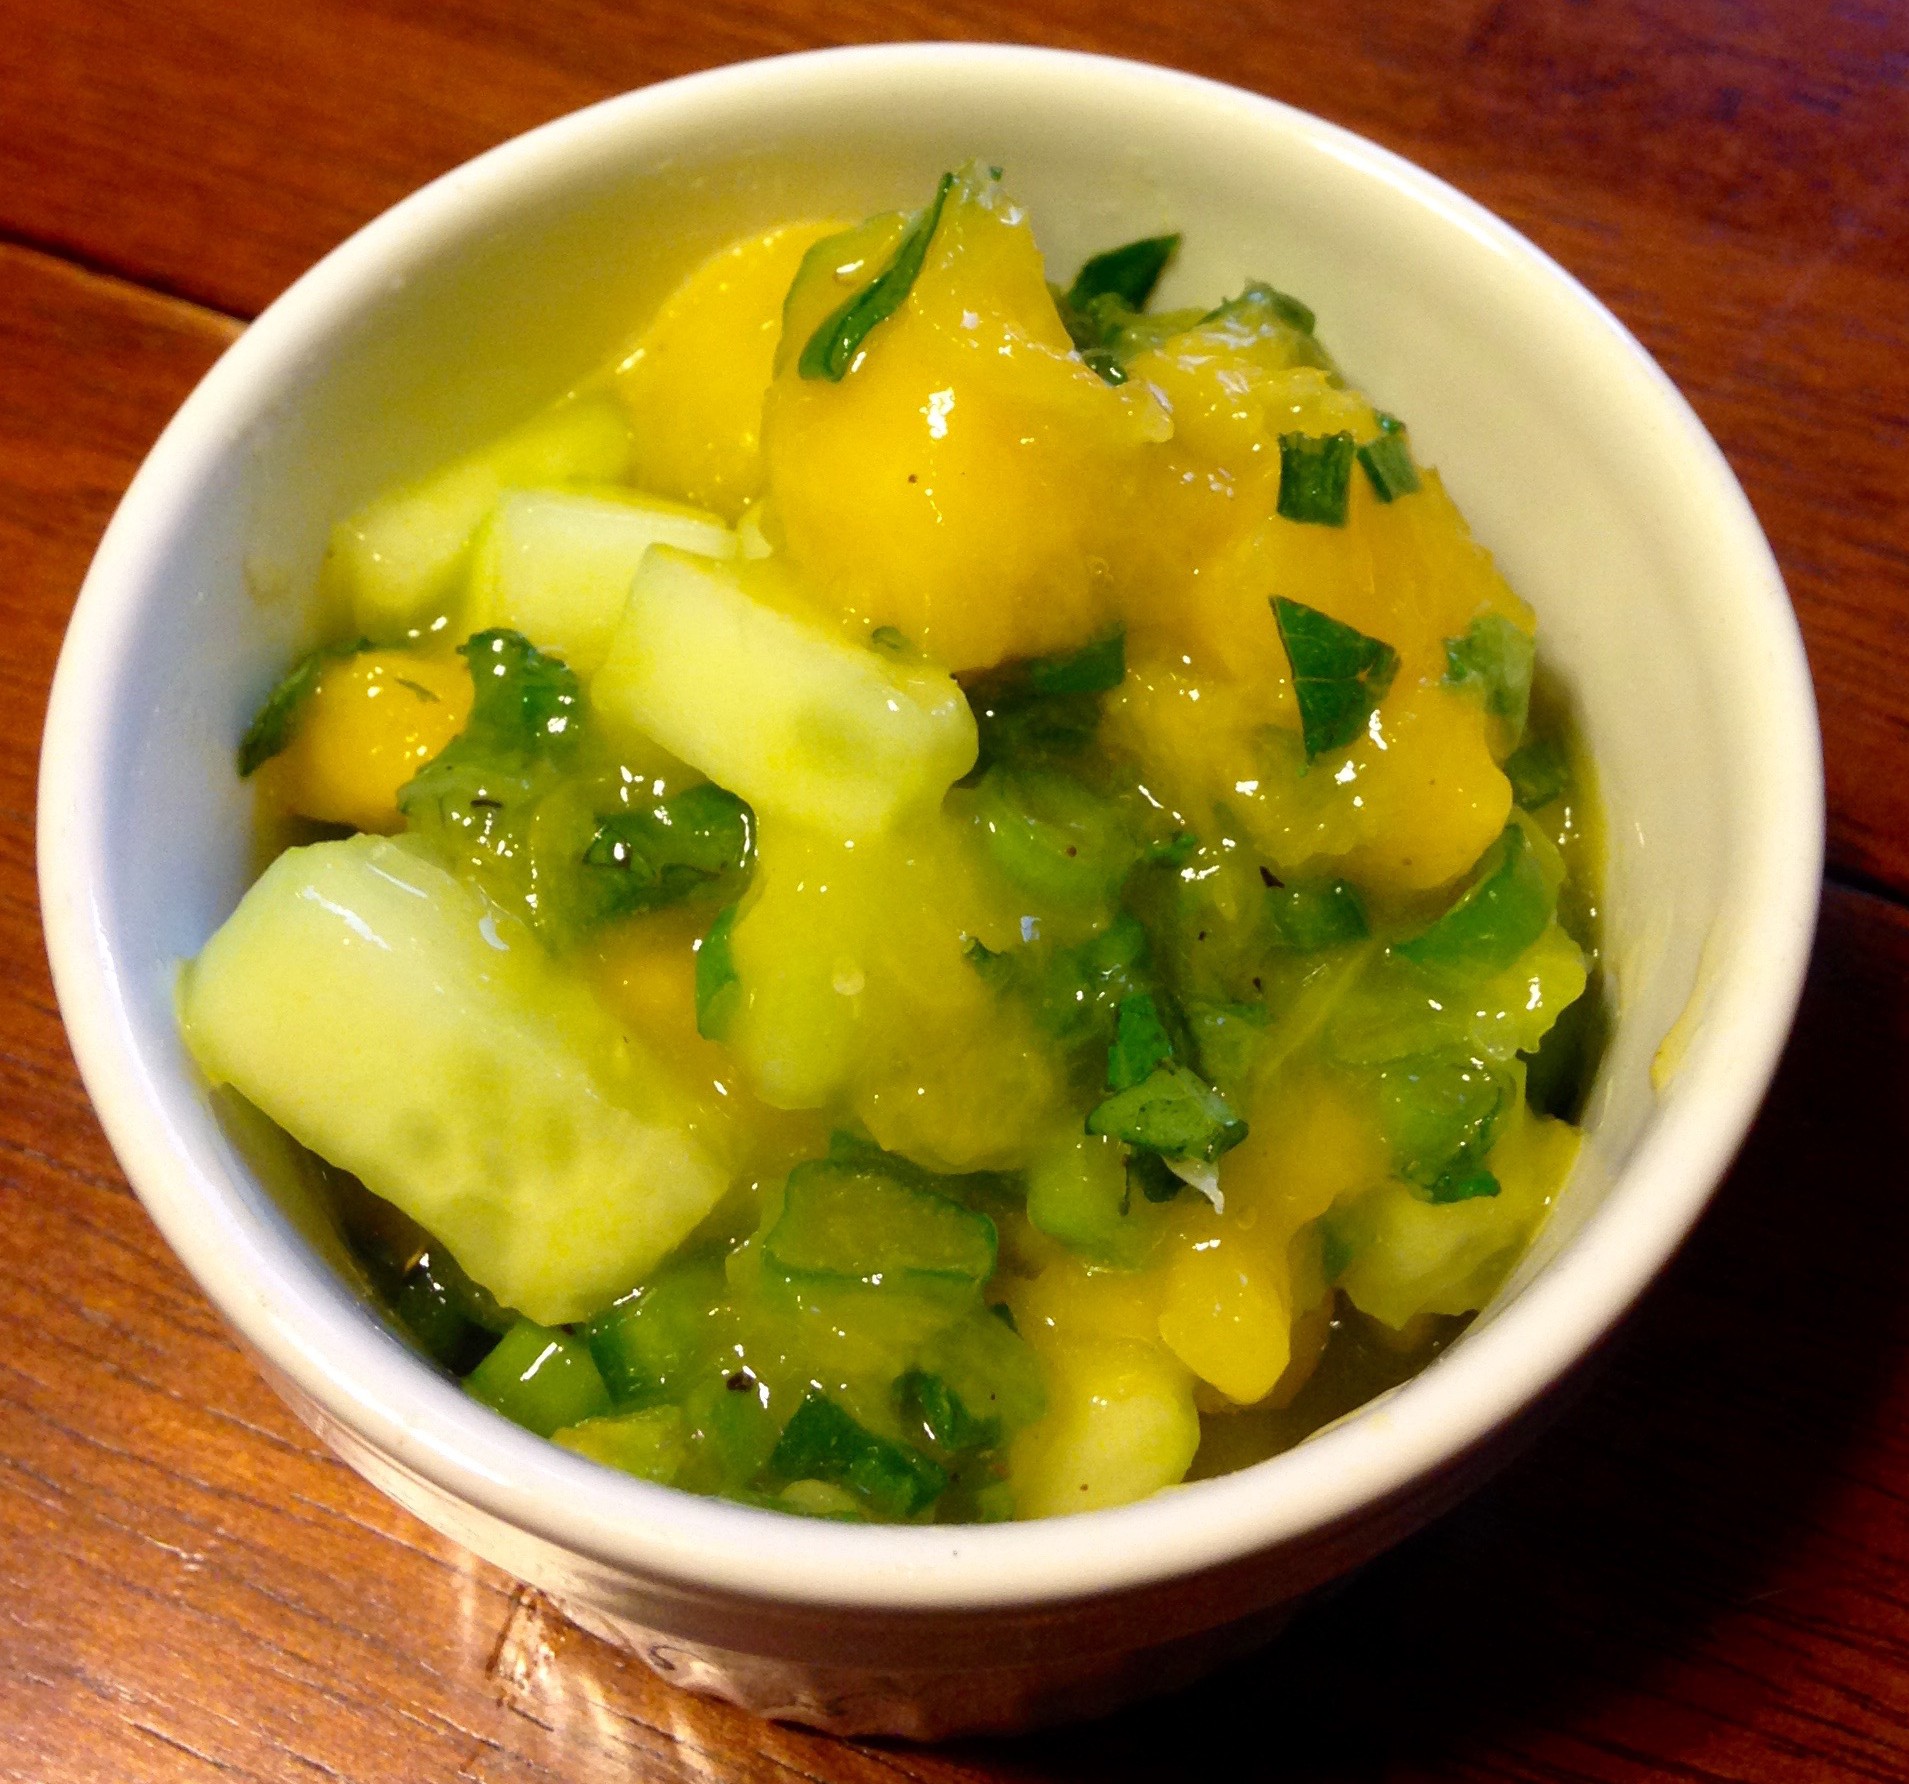
I added Mango. Sacrilege I know. Sue me.
Once you attach the words “Texas Style” to something you’re potentially stepping into a fight. Let’s get this out of the way. I define “Texas style Chili” as beef chili with lots of liquid and no beans. We could argue chunks versus ground and toppings all day but the bottom line is the same. Meat, tomatoes, onions and spice.
If I’m wrong I’m wrong. Hell, I grew up in Massachusetts. Massachusetts? Don’t you mean Taxachusetts?!?
Sorry. At least it’s not Newww York Cittyyy!!!! (Pace Picante Salsa was not used in the making of this chili)
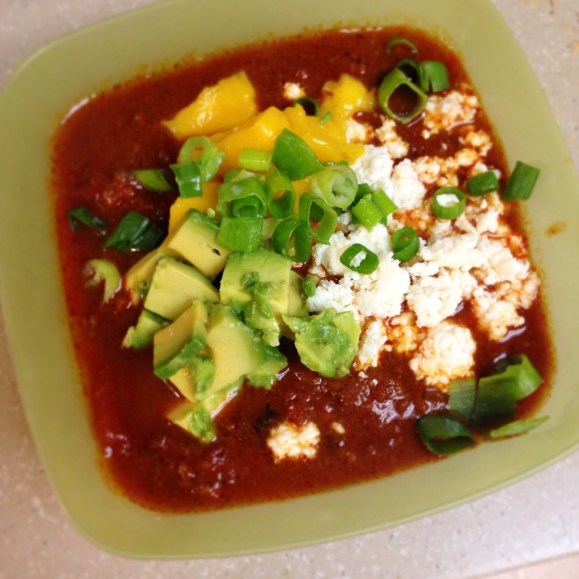
I’m a traditionalist at heart, so here’s my Texas style chili with Mexican cheese and mango. (MEXICO!) (MANGO?!?) Easy and delicious, it will feed a room full of cowboys and city folk alike. Ok, maybe not a traditionalist. A thief. An artist. Who’s to say the difference anyway.
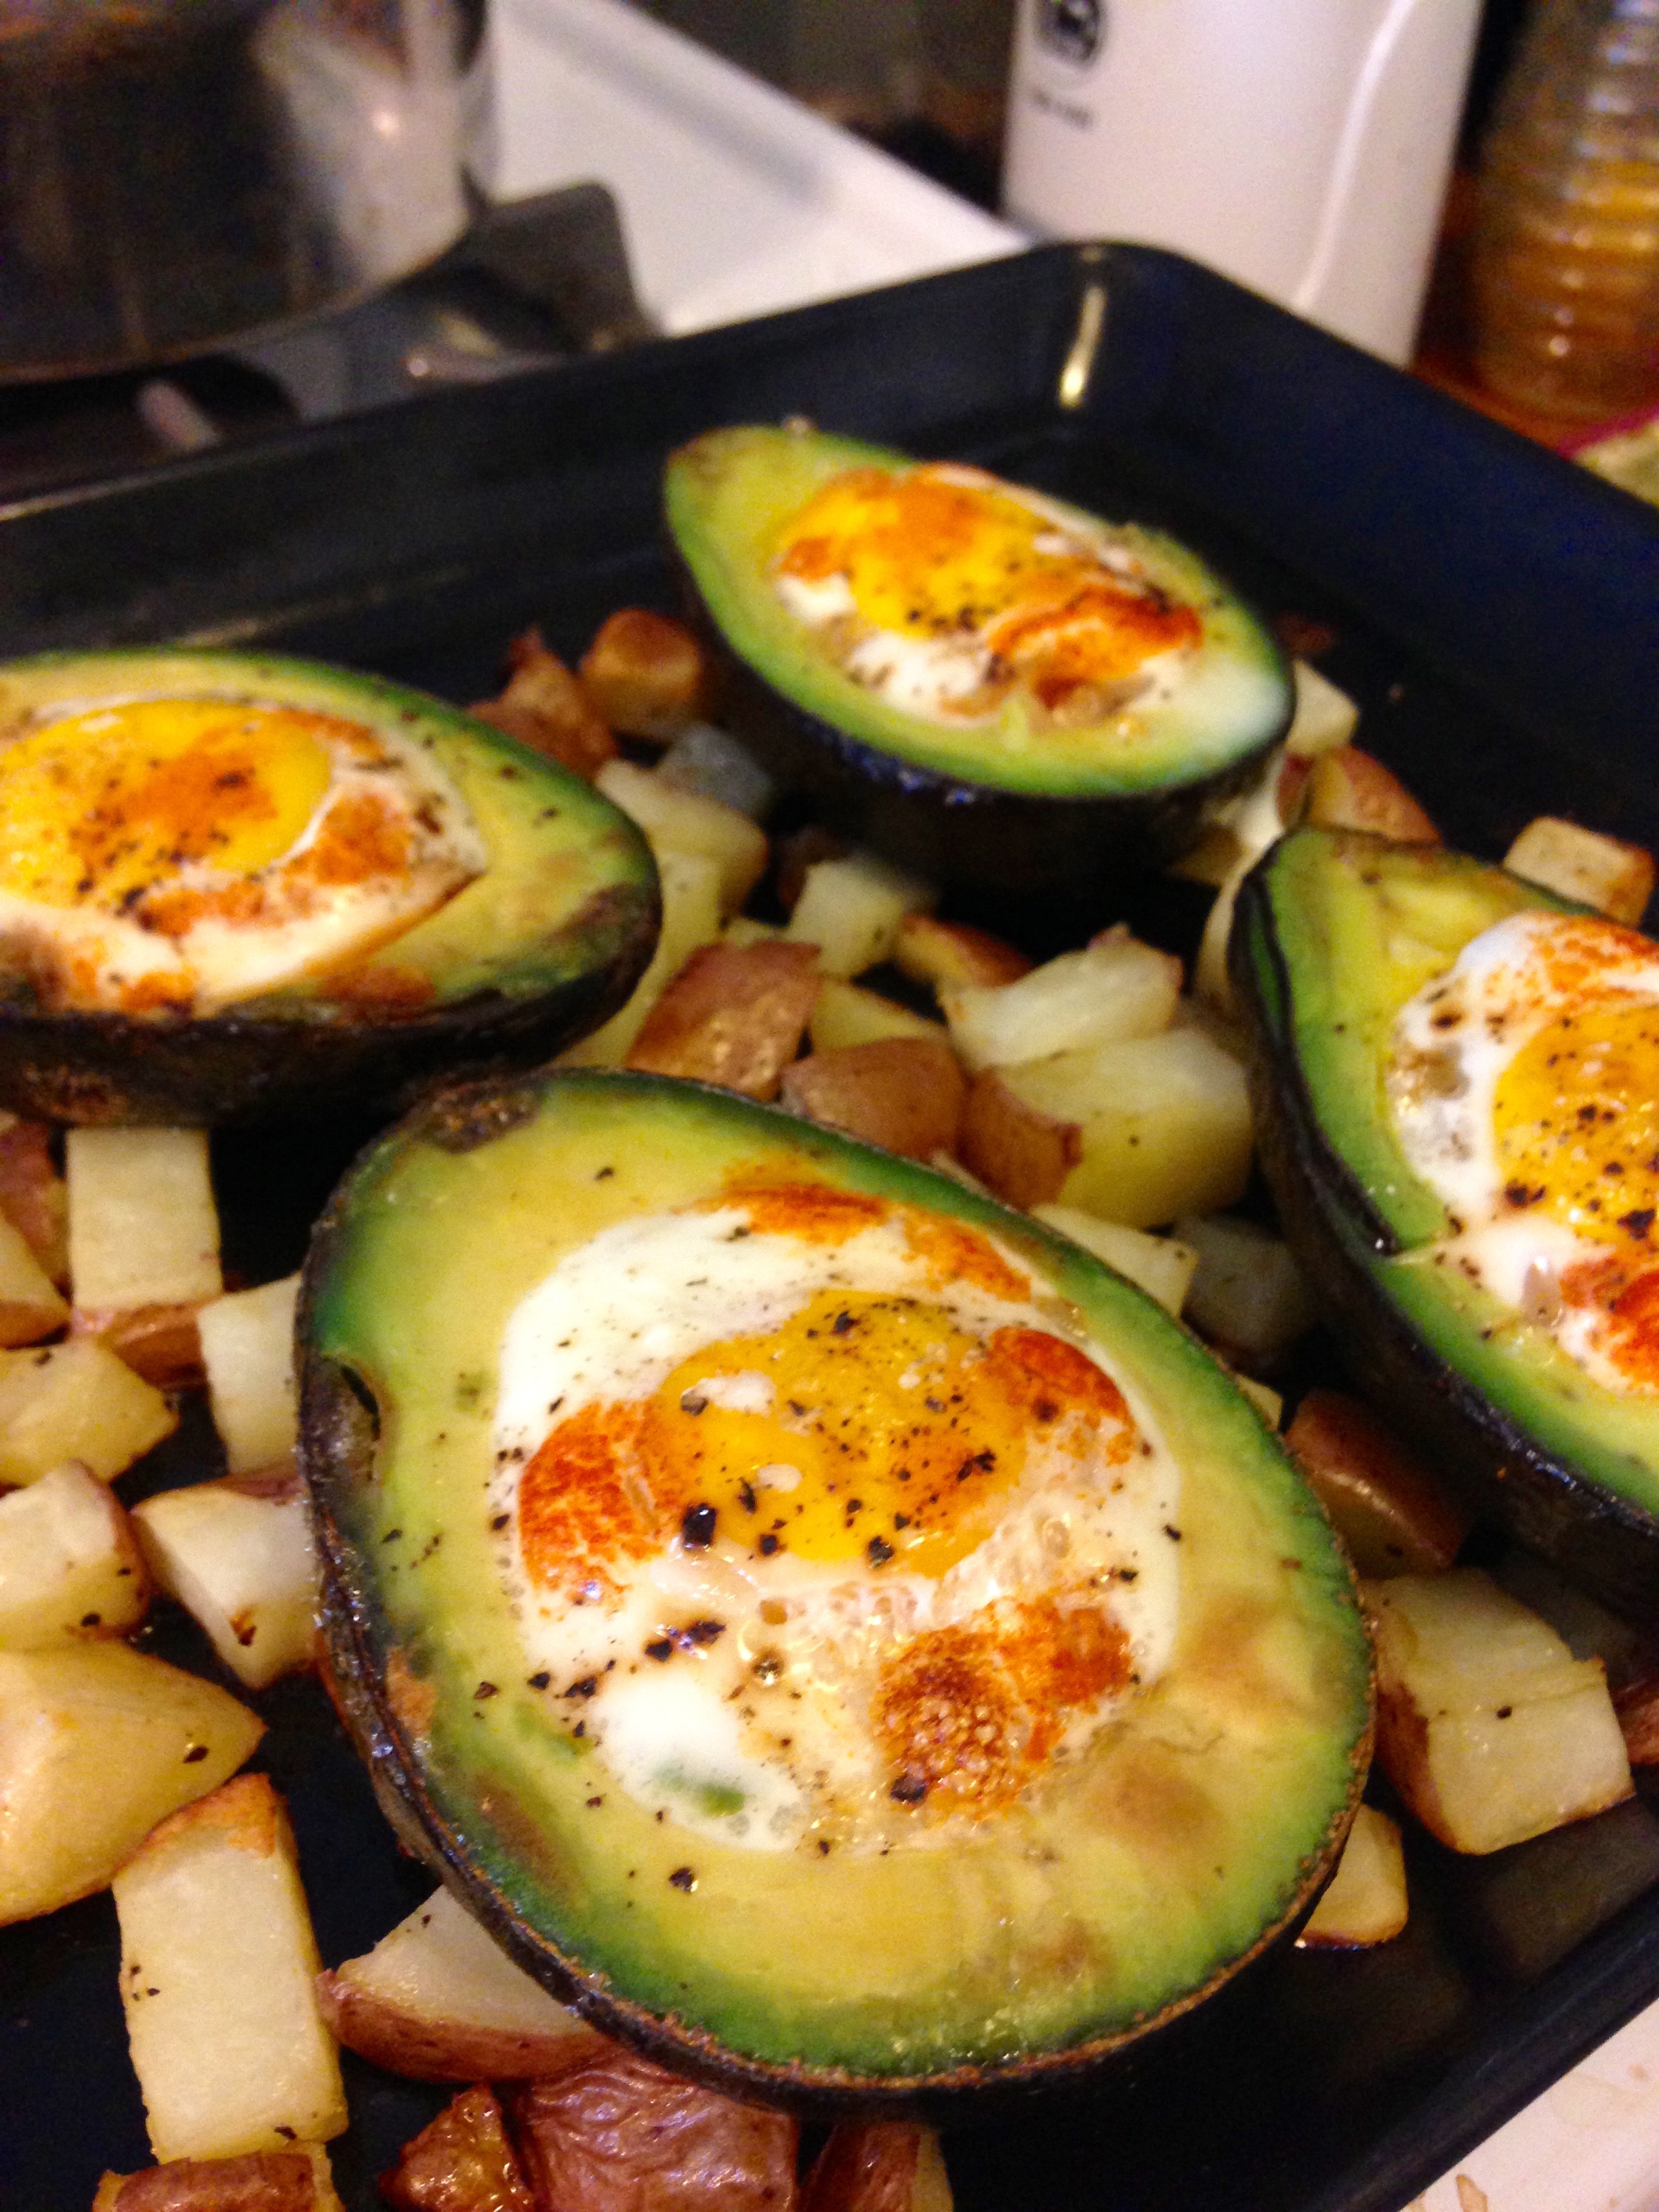
Mango… well mango is in season. The sweetness and texture really contrast the spice beautifully. Cotija cheese or queso fresco is crumbled and chewy and salty and delicious. They’re easy to find in Mexican supermarkets but if you’re not near any just toss in some sharp cheddar. Fresh green onions give a pop of freshness and avocado is… well avocado. It’s good on almost everything. Try it.
Texas Style Chili
Serves 8 Cook time approximately 2-3 hours
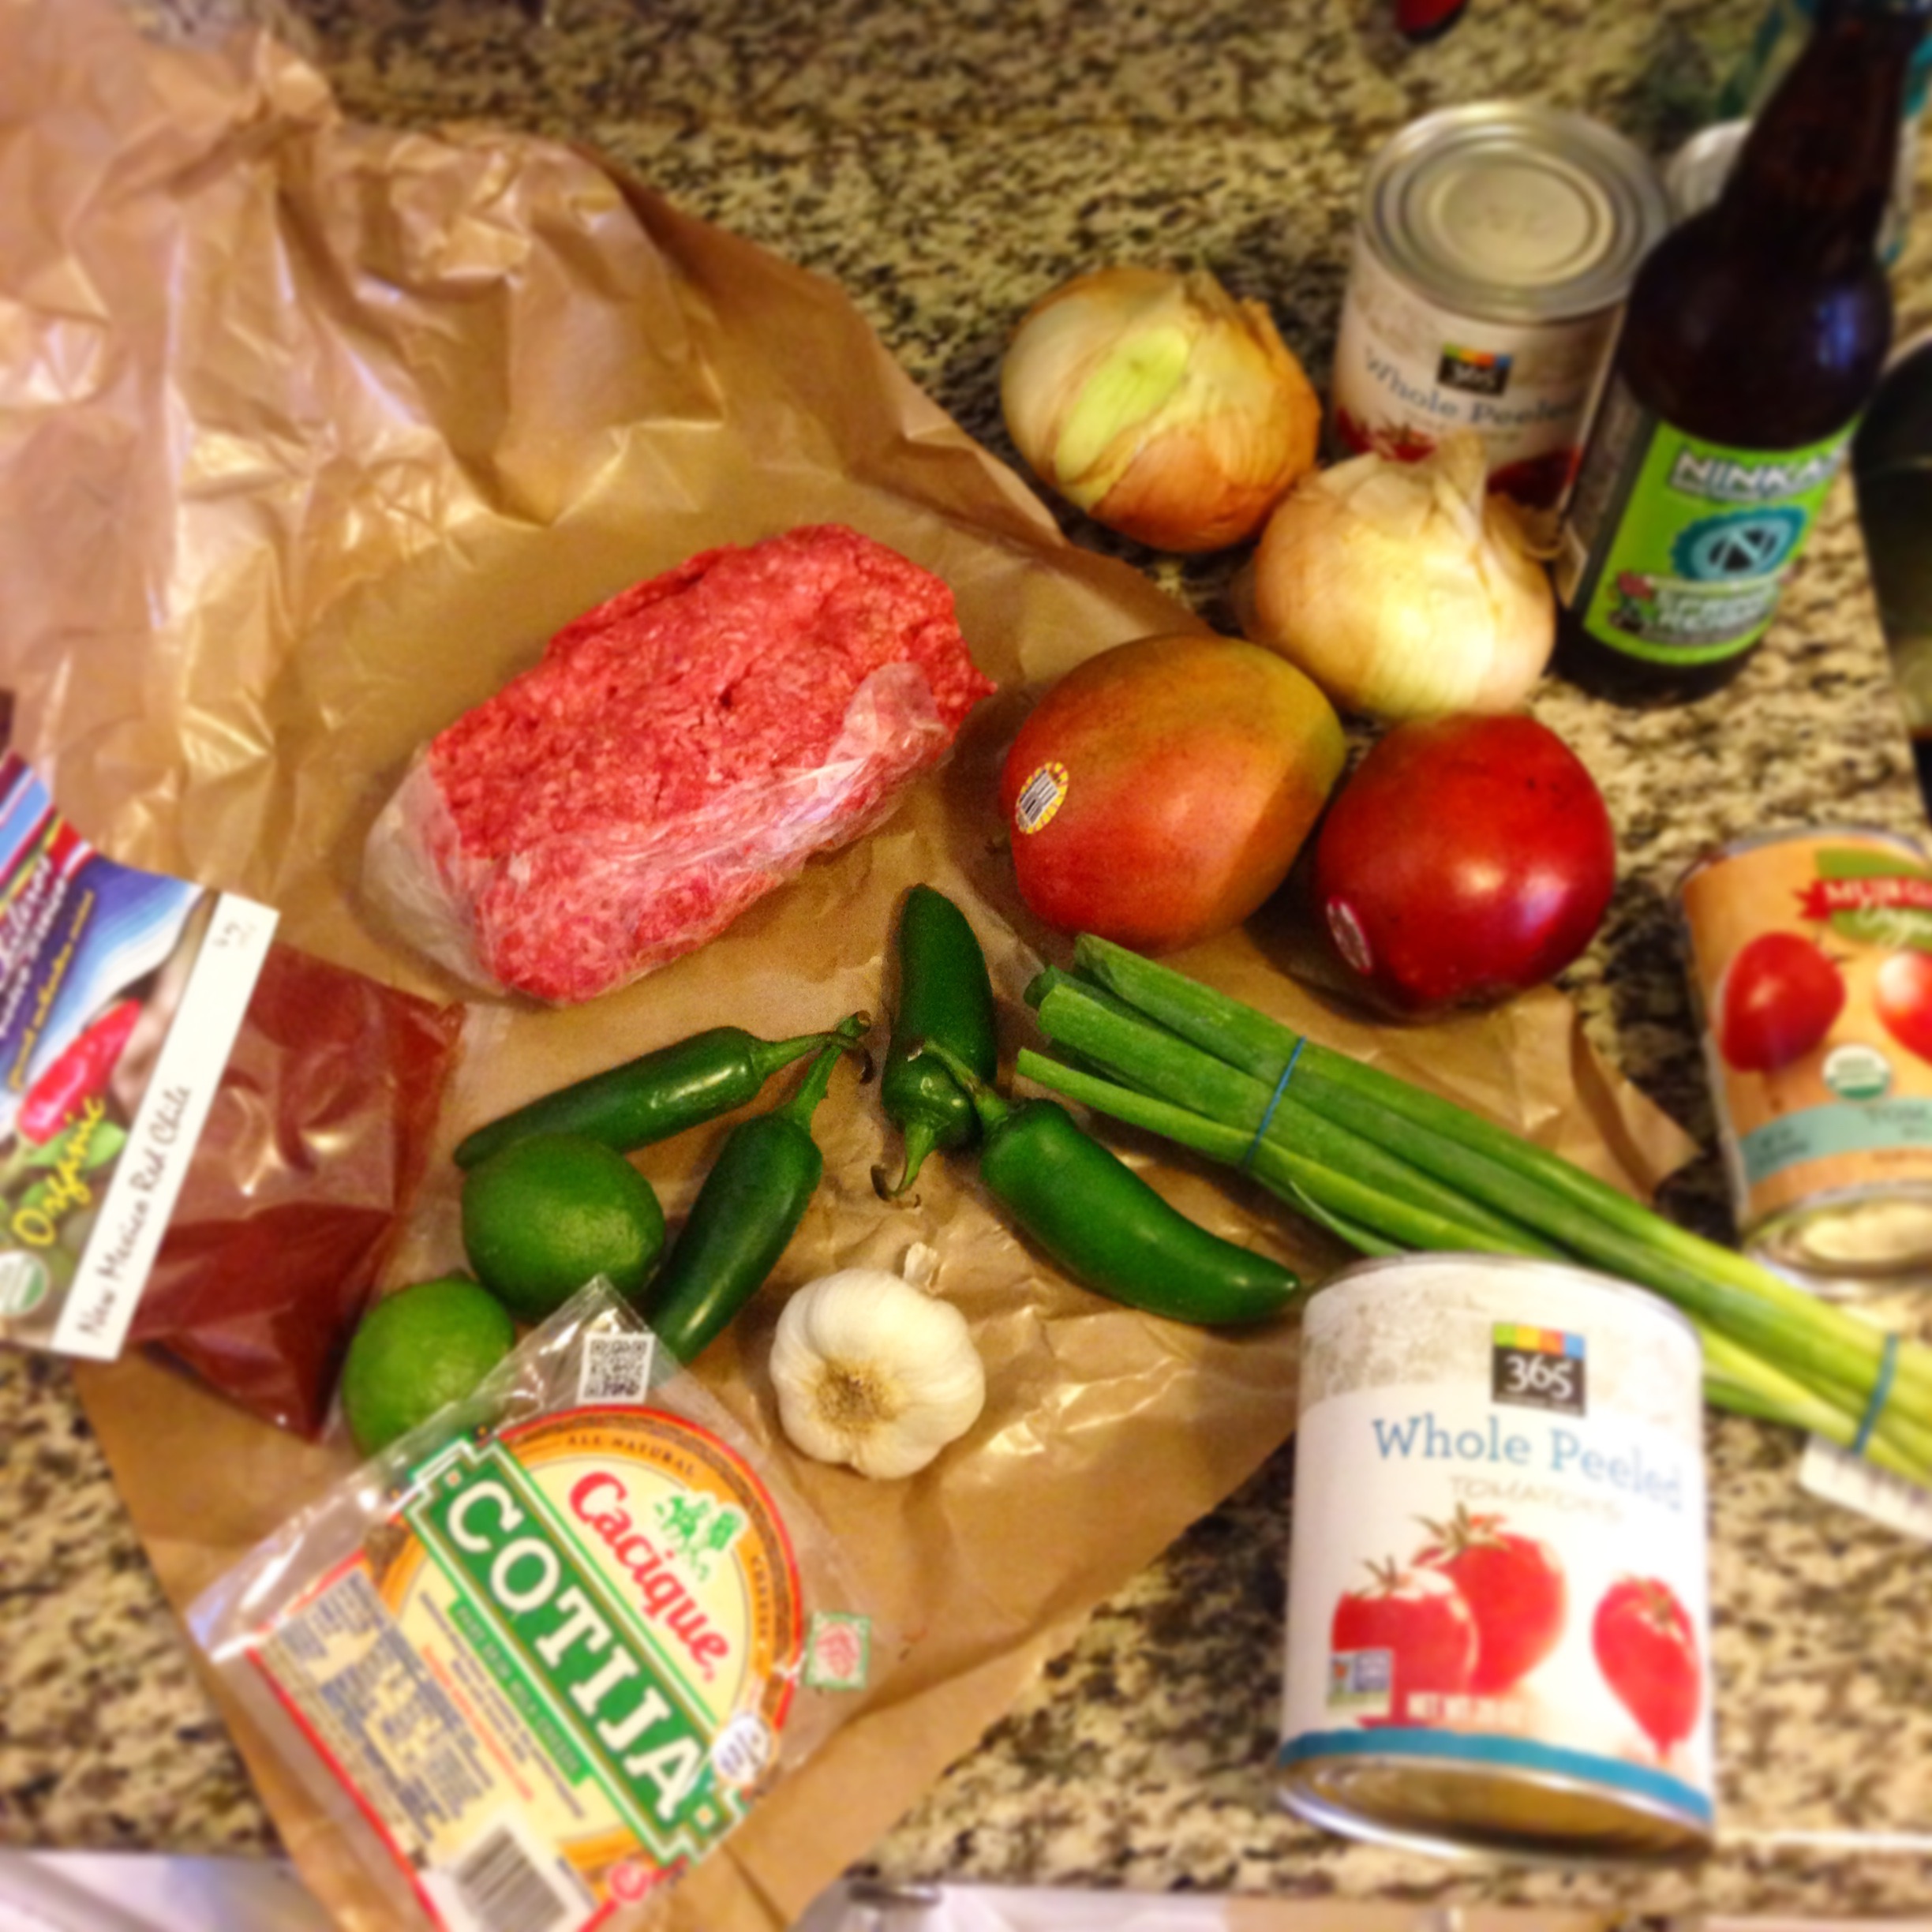
- 2 pounds of ground beef (or turkey, lamb, bison…)
- 2 large onions
- 4 jalapenos
- 1 entire bulb of garlic
- 2x large cans of whole tomatoes
- 2x cans of pureed tomatoes
- 2 large bottles of a fine American Pale Ale
- Cumin
- Chili Powder
- Cayenne Pepper
- Salt
Toppings
- Mango
- Cotija Cheese
- Green onions
- Avocado
- Lime juice

Serves 8.
First things first. Open one of the bottles of beer and pour yourself a glass. Have a sip. Get a big cutting board out and a big soup pot on the stove. Splash some olive oil in the pot, enough to coat the bottom with a thin to medium layer. Get the heat on medium.
Chop up your onions and jalapenos. If you love the spice, add more seeds than not. If you want to manage the heat more on the back end keep most of the seeds out. Add it all into the pot.
Let the onions soften and get to work on the garlic. Peel and chop all the cloves in the bulb and add them all at once to the onions and peppers. Give that a few minutes to work. Add your first *big* pinches of cumin, salt and chili powder. Seriously, don’t be shy. You’re feeding 8 people a dish known for it’s rich flavors. You’ll be spicing again though so don’t worry about guessing the perfect amount. Just get your onions coated in spice and salt for a nice base.
Now add the meat. Mix it every here and there until its browned. Open all your cans of tomatoes while it cooks.

turkey works too!
Once the meat is browned, add more spice. Big pinches.
Now pour in all the tomatoes and tomato sauce.
Open your second bottle of beer and pour the whole thing in the pot. Continue to drink your other bottle.

pour yourself a glass
Put the lid on, turn the heat to medium high and clean up a little. When it’s boiling, 10-20 minutes, turn the heat down to medium and get that cover back on.
Relax. The chili is working. It’s got a hard hat, a safety vest and a lunch pail. Let the chili do it’s job. All you have to do is stir every here and there. Go watch the game, spend time with your people. Nothing to see here. Watch the crowds start to smell the air and get hungry.
After two hours of this, take your first taste. It’s…All… Happening!!!!!
Add more spices. If you want heat that slowly warms you up add one dash of cayenne per person. Work on that formula if you want more or less.
As we approach the three hour mark keep tasting. Add salt, cumin and chili powder in batches until it’s right. Turn off the heat and let the flavors sit.
Now prep your toppings and put them in nice little bowls. Chopped mango, broken down cotija cheese. Slice the green onions and break down your avocado.
When the crowd is about to storm the gates, release them upon your feast. Make sure they add the mango too.
Then open a window. You’ll have to trust me on that one.


