Tag Archives: Family Food

Dutch Oven Short Ribs Braised in Red Wine

Bone In Short Ribs Braised in Red Wine

There is no greater link to my past than preparing festive food on a budget. This kind of cooking is in my bones. Generations of Lithuanians and French Canadians speak through me as I stir and chop and taste. I connect with the ghosts of family past in my kitchen with flavors and scents. I can feel my grandfather in the room, his colloquialisms echoing in my brain. If not just for one day our holiday feasts cut through the extra noise of this modern life. We return to a time when food was our only form of entertainment at home. Sure we steal glances at our phones, but only occasionally and then feel bad about it afterwards. Instead we talk to each other, we listen to one another… and most importantly, we eat.

I was struck by inspiration for this years Easter dinner by one wayward glance at the butcher counter more than two weeks ago. The sight of short ribs got my gears turning. What a perfect holiday meal to serve our guests… It hits all the marks… Easy, delicious, cheap. Once you get it in the oven your work is basically finished… Short ribs it had to be.

Let’s get to it.

Beef Short ribs

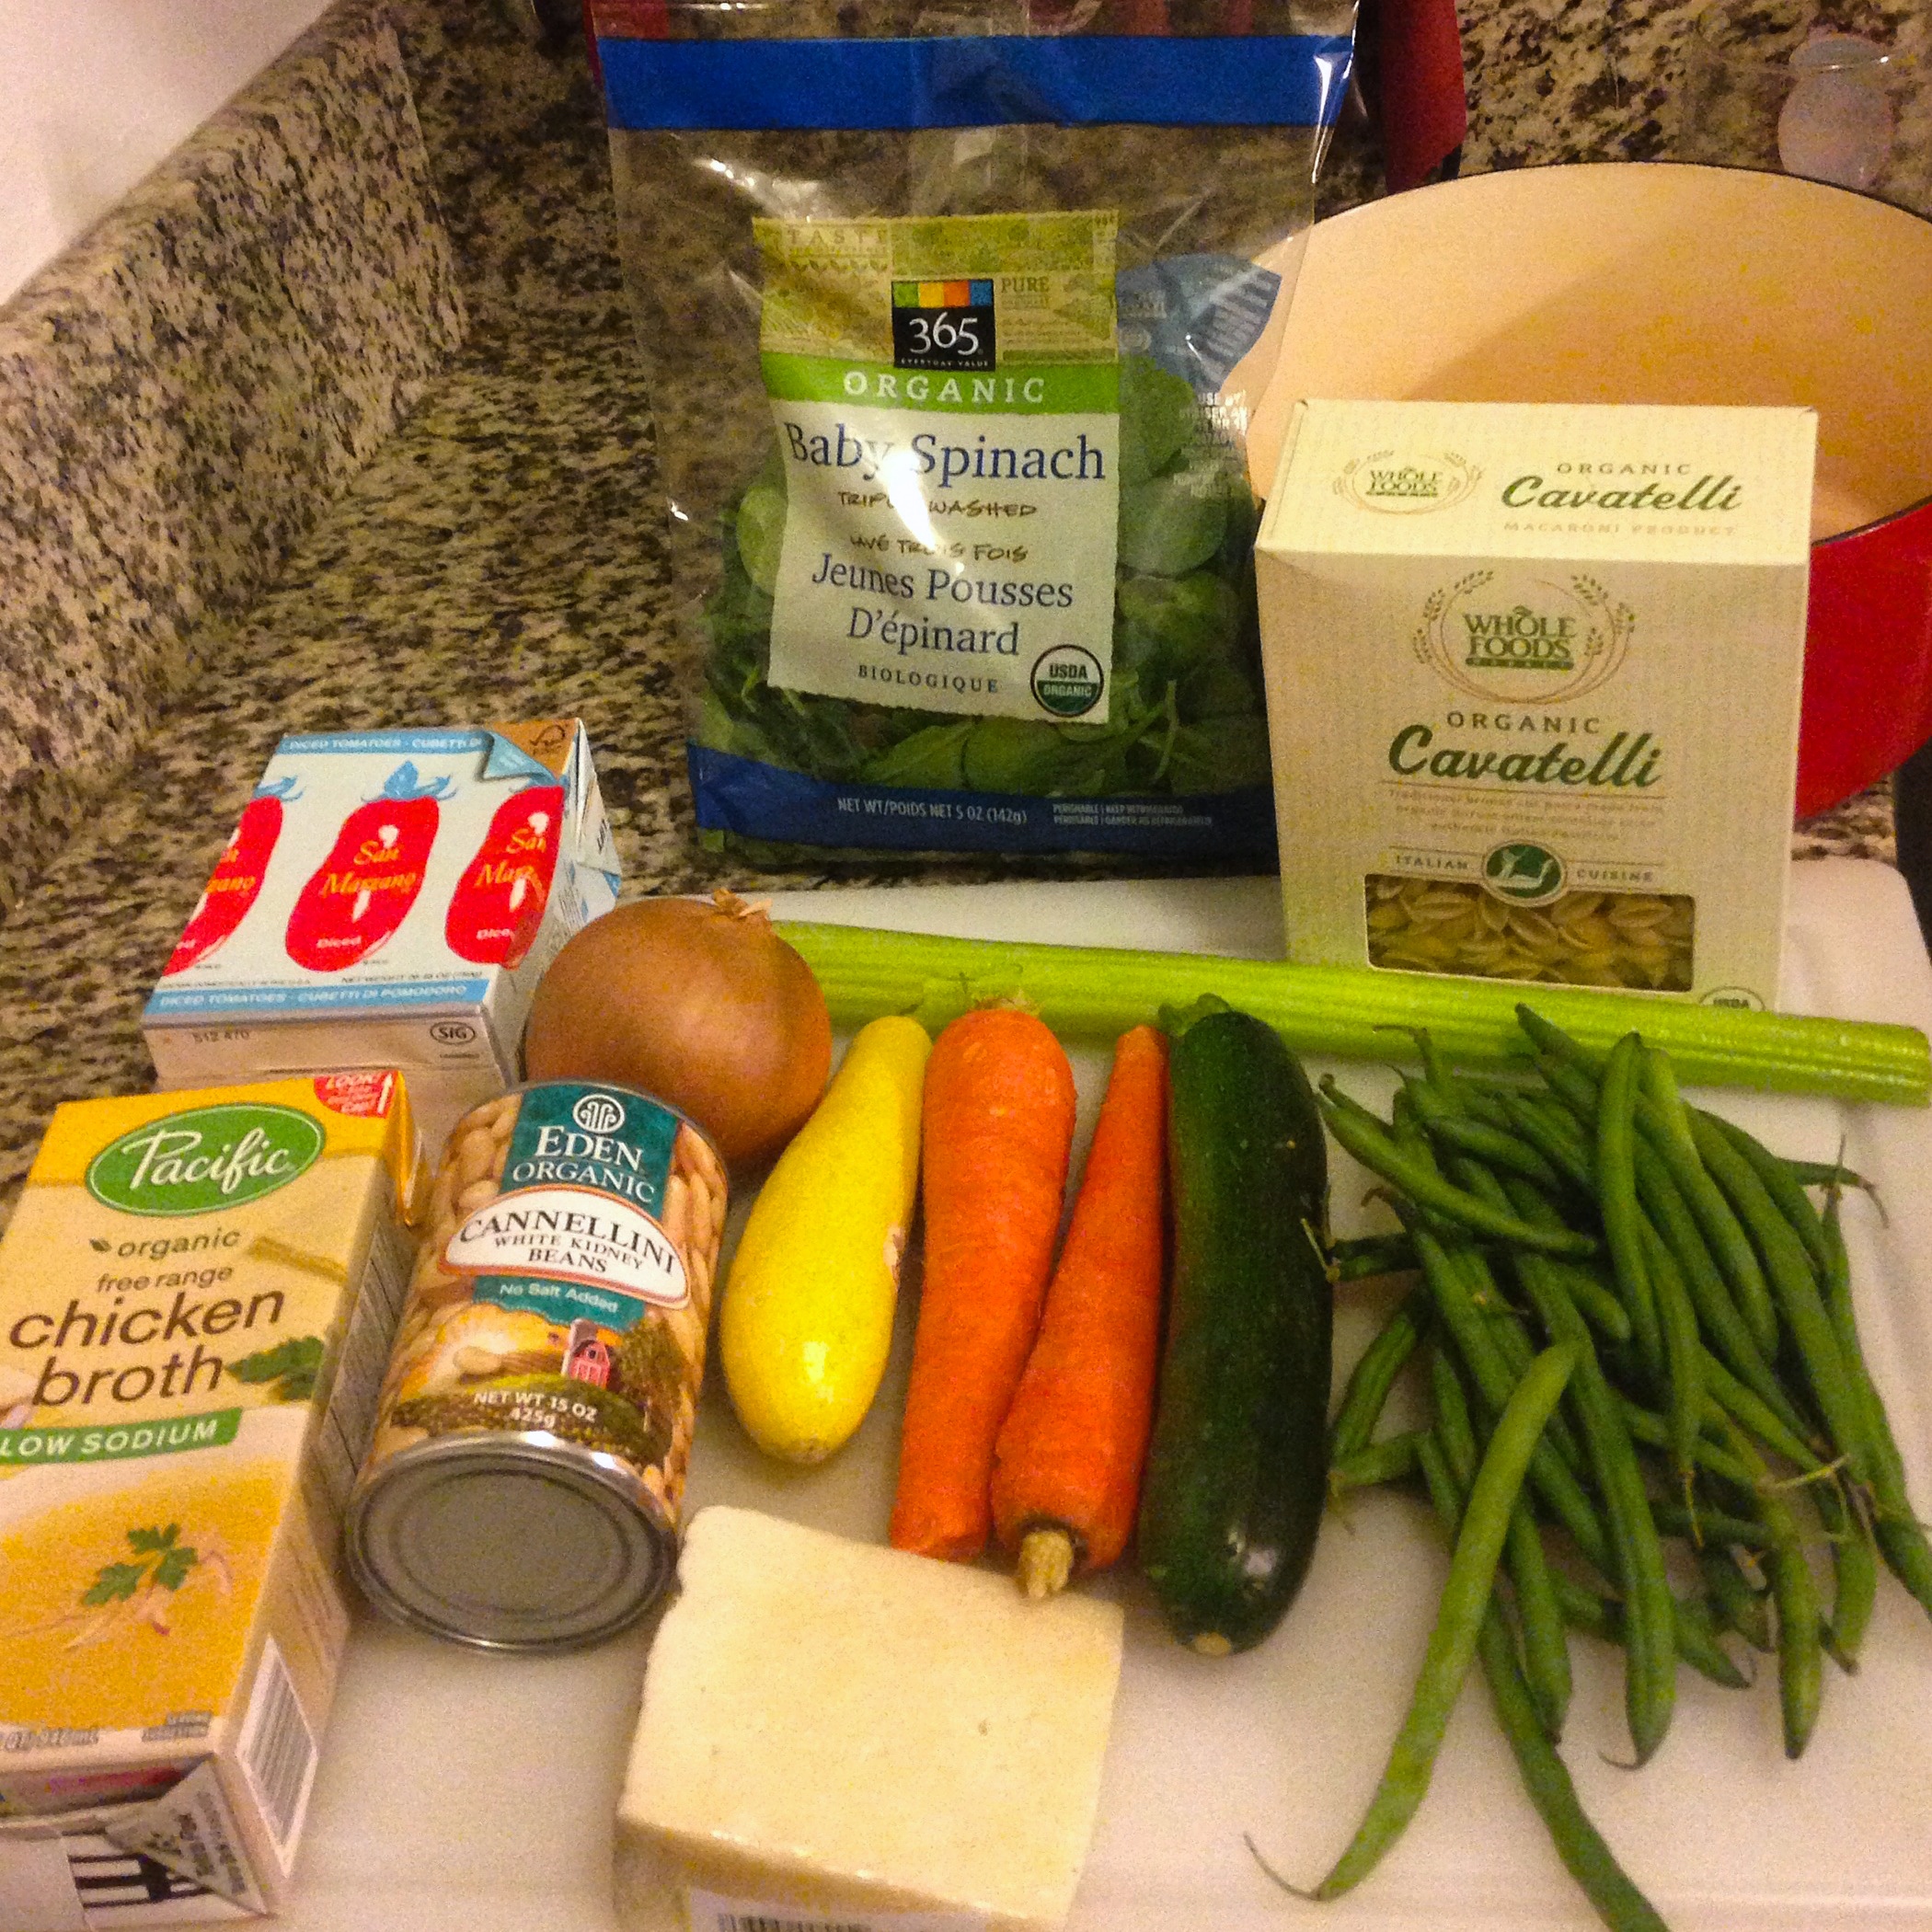
Serves 4-6 Approximately 3 hours

  • 3 pounds of bone in short rib (boneless is fine too. Costs more but just as good)
  • 3 carrots
  • 3 celery stalks
  • 3 cloves of garlic
  • 1 large onion
  • 4 cups of beef broth (usually one large box)
  • 1 bunch of scallions or chives
  • 1 bottle of red wine
  • 1 small bundle of fresh thyme
  • 1 sprig of fresh rosemary
  • 2 bay leaves
  • all purpose flour
  • salt and pepper
  • A dutch oven or oven safe pot

Pep Talk

Something to remember before you start. This is going to seem like a lot of steps for a fancy meal. Don’t get nervous about it. This is easy. It is really hard to screw up. Even if you skip all these steps and just throw everything in the pot in the oven you will end up with a delicious meal. Remember, this is essentially European peasant food. Cheap cuts of meat, a pot full of vegetables and a bottle of local red wine cooked over fires or baked until it falls off the bone. This entire dish can be done a day ahead, some say it’s even better that way. It’s an ideal meal for entertaining.

Preparation

First step, salt and pepper the short ribs. Then toss them in a large bag with flour and shake them up until they all have a nice even coating.

Set them aside and chop up your onion, celery, carrots and garlic. Turn your oven on 350 (175c).

Pour some oil in your dutch oven and put the heat on medium. You want enough oil to coat the bottom of the pot. Let the oil heat up and place the ribs in one at a time until you have single layer. With 3 pounds this will likely take two batches. Sear the ribs until they’re browned up nicely. 4 minutes or so on each side. Set them aside for later and spoon out most of the oil. Scrape the crusty bits with a wooden spoon and add your onions to the pot. Once they are starting to brown and melt down add your carrots and celery. Stir them up and salt and pepper everything. Add two of the chopped garlic cloves now.

Starting to smell good huh?

Let the mixture cook for 5-10 minutes, stirring often.

Place the seared short ribs on top of the veggies. At this point it doesn’t matter if they’re all arranged perfectly or not, just get them in the pot.

Open that bottle of red. Buy a wine that’s drinkable but don’t spend too much money on it. A table red or a cabernet works great here. Pour yourself a half a glass and dump the rest of the bottle in the pot. Turn the heat up to medium high and make a note of how high up on the pot the liquid is. Keep the lid off of the pot.

Wait for a boil. You’ve got about 20 minutes here and only need to stir a few times. Wash up the cutting board and dishes, get your counters clean.

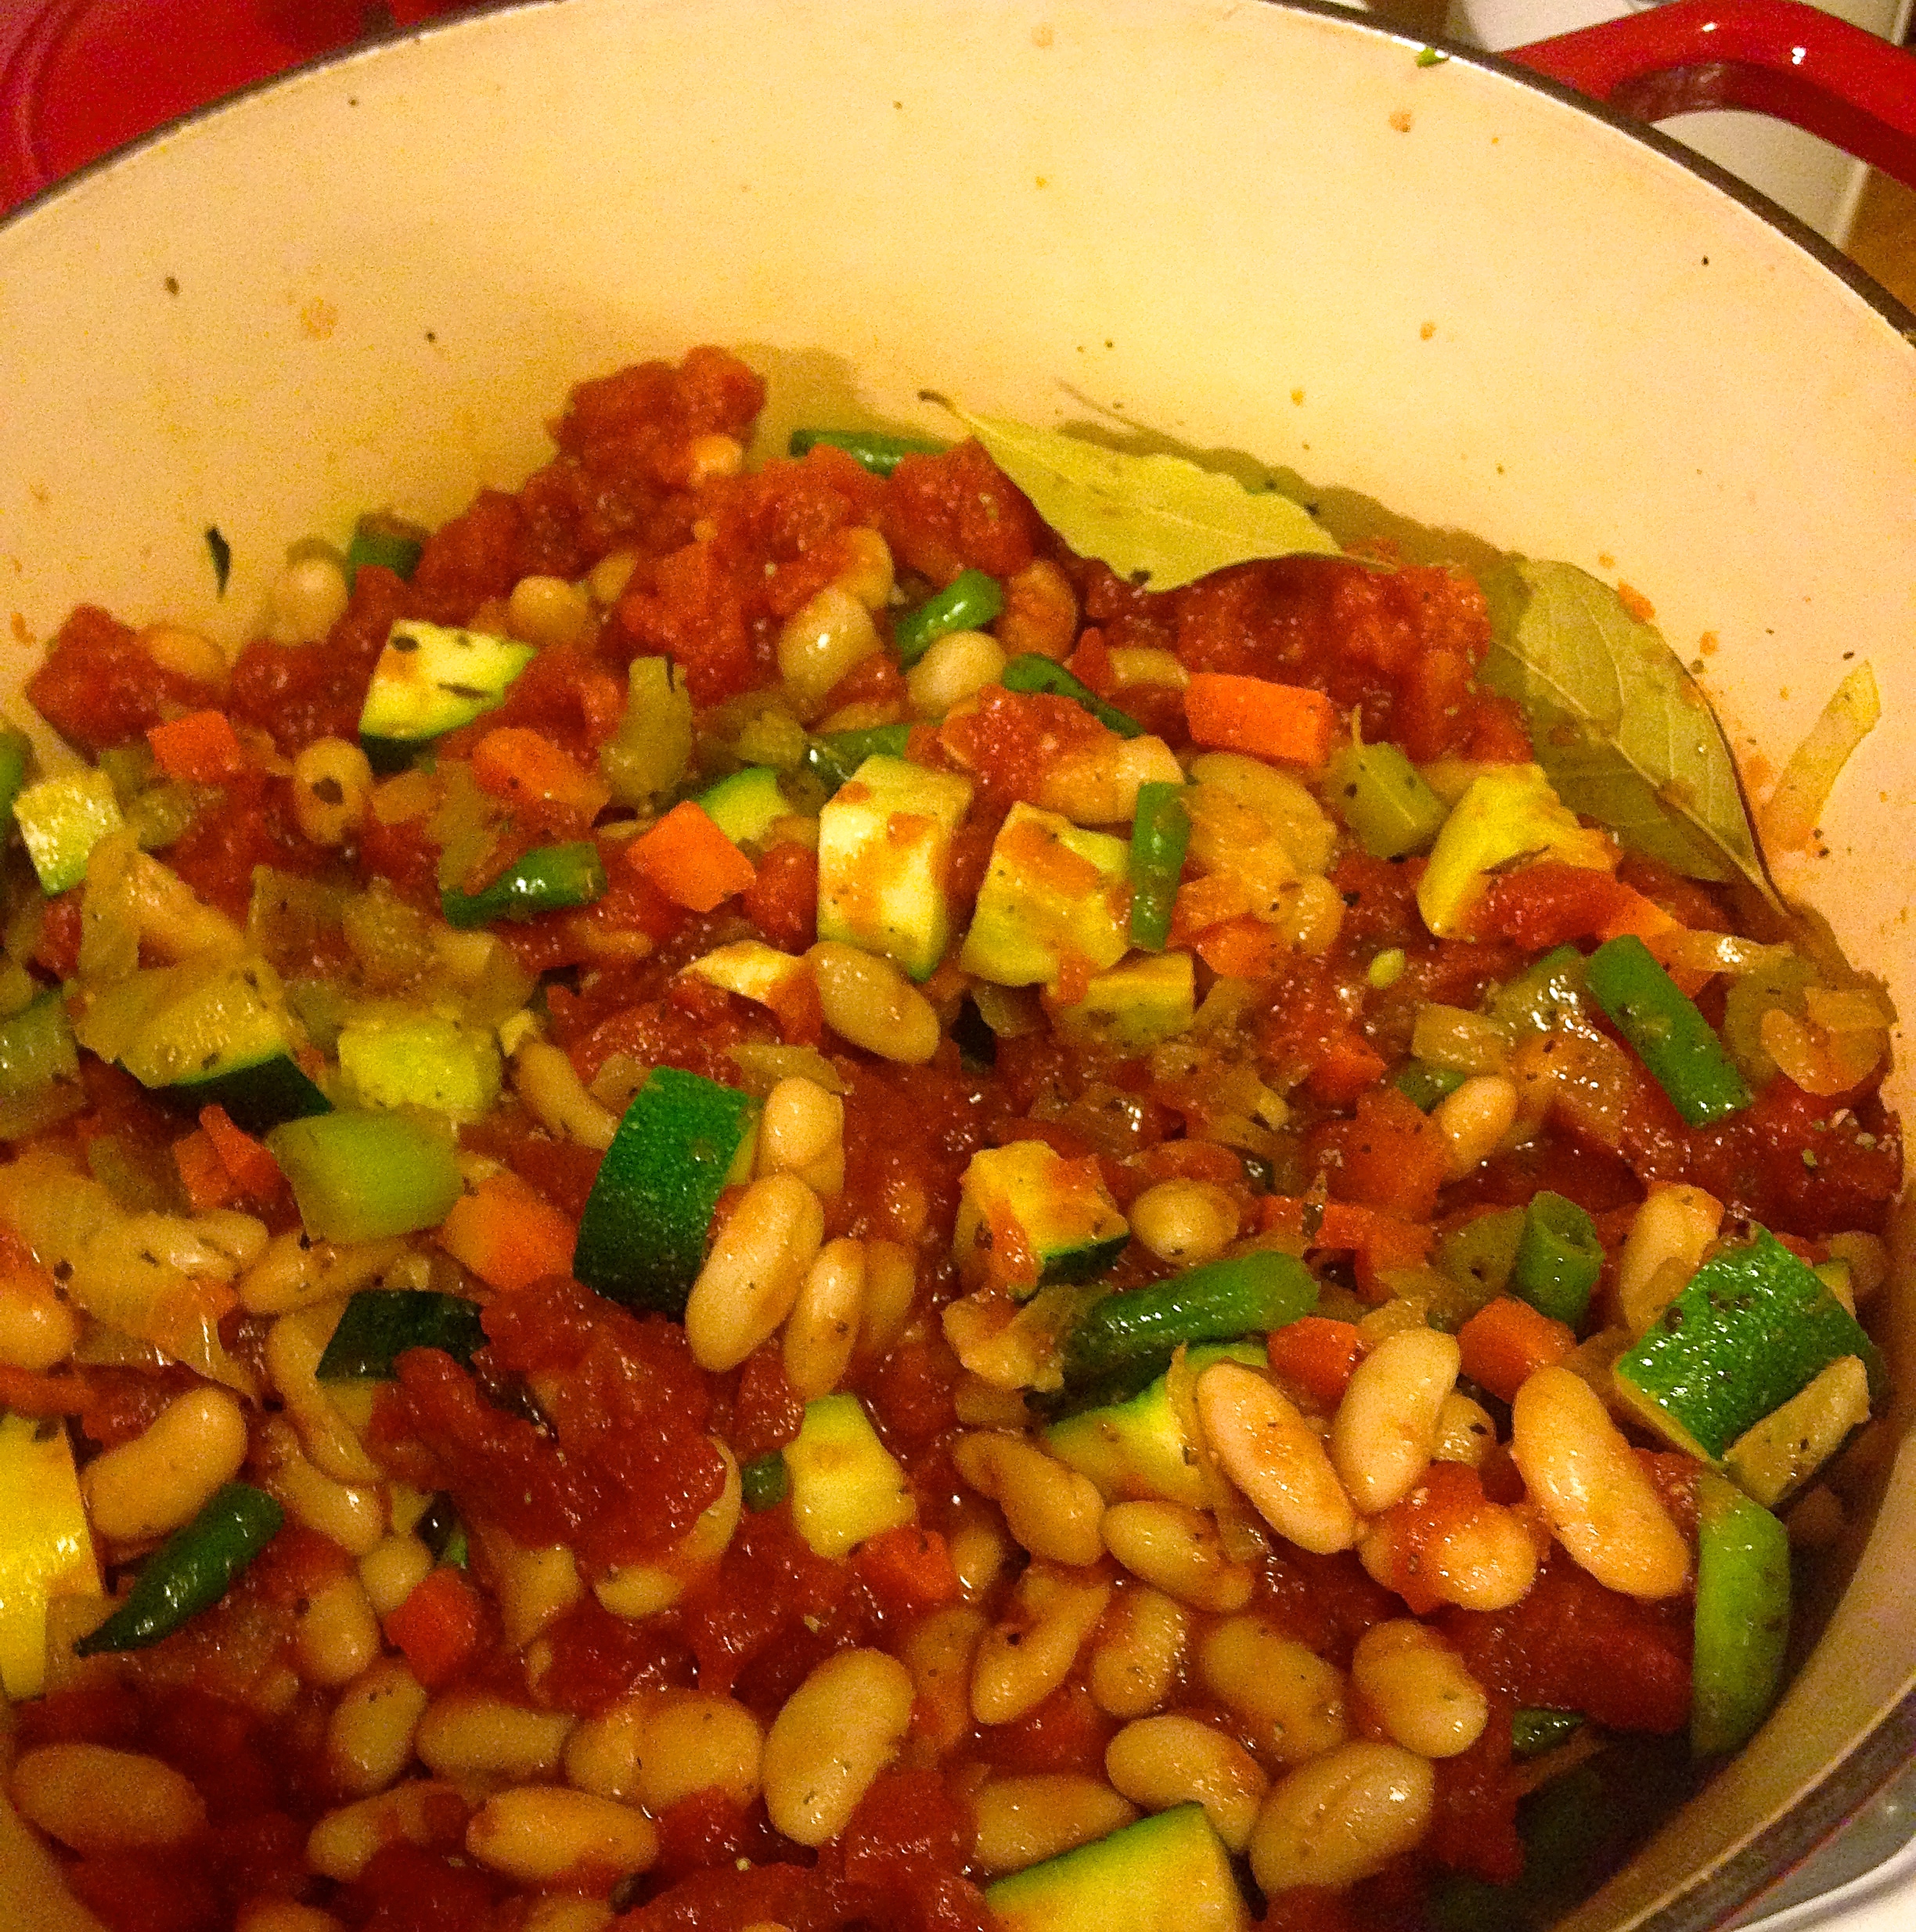
You want to boil it until the amount of red wine has reduced by half. I tied up a bundle of the thyme and a sprig of rosemary with cooking string and tossed it in with two bay leafs and the third chopped garlic clove. Toss in a couple pinches of flour and pour in the (4 cups) entire box of beef broth.

Short Ribs in Red Wine, pre boil

Cover. Place in oven.

“Siri, set a timer for 2 hours please

Plenty to do for that time. Set out your appetizers, greet your guests, work on your side dish for the short ribs. (mashed potatoes, polenta, roasted vegetables, risotto, pasta come to mind) I made a parmesan risotto to accompany mine. It came out pretty good but not good enough for me to tell you how to make it. Maybe next time.

When the two hours is up take a look at your masterpiece.

Voila!

I pulled out the bones with a pair of tongs and tossed them. Using the tongs, break up the meat until it’s shredded. If the bones don’t come out easily and the meat doesn’t shred  with a light touch give it some more time. Stir up the mixture and have a spoonful. Add salt and fresh cracked black pepper to taste and put back in the oven for 30 minutes. This is when I made my (decent) risotto.

When finished, serve your amazing short ribs over your amazing side dish. Top with chopped green onion or chives. Pray for leftovers.

Advertisement
Tagged , , ,

Minestrone Soup in Under an Hour

Minestrone Soup

Oh Minestrone… How I love thee. It, like so many food memories, takes me back to childhood, to memories that are so old and faded that they’re best described by colors. A whiff of a maturing minestrone soup on the stovetop will transport me to a time when chairs were something I had to climb to sit on. It’s bright and savory, steeped in herbs and hearty with cannellini beans and pasta.

I spent a few days last week working with a fellow food lover. We spent hours talking about this spot and that, our favorite dishes and preparations. We swapped tips and techniques and sat down to two exceptional working lunches. At one point minestrone came up (he uses swiss chard, brilliant) and it got it stuck in my craw, the craving sat in the top of my stomach from the moment it was breached. By hour 40 I had broken. It had to be done.

Ingredients for Minestrone Minestrone Soup

Serves 6-8
45-60 minutes

Ingredients

  • 1 clove of garlic
  • 2 carrots
  • 1 celery stalk
  • 1 medium yellow onion
  • 1 small yellow summer squash
  • 1 small zucchini squash
  • 1 large can of crushed tomatoes
  • 1 can of cannellini beans
  • 6 cups of chicken/ vegetable broth
  • 2-4 cups of uncooked baby spinach
  • A handful of fresh green beans
  • 1/2 cup of a small pasta shells
  • A hard italian cheese… Parmesan, Romano… (or, if you’re feeling classy, Pecorino)
  • 1 Baguette

Dried herbs

  • Marjoram (oregano works too)
  • Thyme
  • Sage
  • Basil
  • 2 Bay Leaves
  • Sea salt
  • Cracked black pepper

Preparation

Get everything out and organized. Set up a slop bowl for peels and ends, it keeps you from running back and forth to the trash.

Splash some olive in a pot on medium, break down your onions, carrots and celery into small bits. Salt & pepper, 2 layers of thyme, 1 layer of marjoram(or oregano) and a dash or two of basil and sage.  Stir the mix and put the burner on medium high.

Get to work on those green beans. I’ve never really figured out a perfect method with beans. I just snap off the stalk end with my fingers and work my way through the pile. Snap, next. Snap, next… Then I try to bundle them all like matchsticks and cut them into 1 inch pieces.

Slice the garlic, toss it in.

Quarter your zucchini and summer squash and chop it down. Into the pot it goes. More salt and pepper. Stir.
Add the tomato. Rinse the beans good if they’re out of a can and put them in. Salt, pepper, another coating of herbs. Bay leaves. Stir.

Note the order I did that in. Onions first, almost always. Everything else goes in order of vegetable firmness. Garlic usually in the middle, you don’t want it to burn and get bitter.

Mama Mia!

Mama Mia!

Give this a few minutes. Absentminded? OCD? Set a timer for 4 minutes and twenty three seconds.

Pour in your 6 cups of broth and stir. Turn heat to high and cover.

Do you have any old Parmesan rinds kicking around? Got a great tip this week, save your rinds in the freezer. Pull them out for jobs like this. I happen to have one in the fridge. Toss that in the soup.

Bring to a boil. This is where I clean up my mess. A clean kitchen is a happy cook! Working quickly I had enough time to clean up all the dishes I had just used and wipe down the counters.

Once the soup is boiling give it another stir and turn the heat down to medium high. At this point you can do it a few different ways. If it’s the weekend and you feel like torturing your friends and family, turn down the heat and take your time. Let the smell whip the guests into a frenzy. (A trick I learned from my mother) They’ll be knocking each other over by the time you’re ready to serve. If you’re in a hurry like me, keep whipping that soup into a boil. Ze flavors must marinate! Ze broth must reduce! Work soup work! 

A boiling soup is a reducing and thickening broth. You need some of that to concentrate the flavors but you don’t want it too thick. I like my soups with a lot of broth so I keep the cover on for most of the cook, pulling the lid off at the end for a mad dash 5 minute reduction. It’s a balance. You can always thicken more with uncovered heat. Thinning the broth is a little more complex and I try to avoid it.

Boil some water for your pasta and get that going. Follow the instructions on the box for timing. Drain the water and set your pasta aside.

Why do this? Extra steps and extra dishes? Not usually our style here in the mancookgood kitchen.

I do it because I don’t want to leave the pasta in the soup for leftovers. Same goes with rice. It continues to absorb the liquid and by day two or three my beautiful broth is a solid block of bloated pasta. It’s like a parasite sent to drink up all that goodness. Like Uncle Jack, it never stops drinking.Not today Mr. Cavatelli. Not today.

By this point your soup should be beginning it’s descent into flavorland. Drinking a glass of wine? Red? I was. Splash some in at any point.

Slice your bread and get it ready. (Toasted? I did) I like to put it in the toaster oven pre buttered. It makes for a soft interior and crispy edges. Who doesn’t like crispy edges? Bring them to me.

Add the spinach. Yes, all of it. It reduces, trust me. Stir it in as it shrinks.

Taste the soup. It should almost be there. Check the carrots, make sure they’re soft. Turn up the heat and take off the lid. Please put your tray tables up and in an upright position, the pilot has turned on the fasten seat belt sign. 5 more minutes of an uncovered boil, taste it again. Hot!

Here’s the most important part.

Spoon the soup and some cooked pasta into a bowl and grate your cheese over it. This is nearly non negotiable. Lactose intolerant? How bad? Grate the cheese and take a pill or something.

Sprinkle some chili flakes and a spot of pesto if you have it hanging around. Serve with the bread and a smile. Make the soup. Win the day.

Tagged , , ,

Grilled Carne Asada


IMG_1279My mother is an exceptional cook. She grew up in a time and a city where families of European immigrants lived clustered together in neighborhoods named after their homelands. It became my stomach’s good fortune that “French Hill” happened to border “Italian Hill”. While the children were off to school and the men off to work, generations of women would cook their family recipes throughout the day in anticipation of their families return. It was the smells of the neighborhood that got my mother most hooked on food. She spent days with other peoples’ grandmothers learning the foods they had learned from generations past.

I didn’t spend much time in the kitchen with my mother growing up, I was too busy taking the fresh and delicious food we ate for granted to do that. It wasn’t until I had grown and moved out that my enthusiasm for food began to take shape. I did, however, learn through osmosis what amounts to a master class in food and family theory that continues to this day. Her excitement about other culture’s foods really stuck with me. I can’t eat or smell something for long without dissecting the flavors and learning to make some version of it. Like many staples in my family’s home, my inspiration for yesterday’s meal began in my neighbor’s kitchen. One whiff of their grill on my way out the door and I knew Mexican would be on the menu. While I won’t pretend to know an Abuela’s version of carne asada I’d like to think she’d enjoy it if she had some. You’re always welcome Abuela!

I’m almost to the point.

So yesterday we had the conference championship games for American football. These days have become informal holidays in the States, the bigger the game, the bigger the group. Friends and casual fans come out of the woodwork while we light our fires, cook our meats and yell at men dressed in stripes. Depending on your rooting interests, they can be the best and the worst days but there is always food to keep us busy.

Yesterday while the Green Bay Packers cruelly teased their fans with early dominance, I was buzzing around a friend’s kitchen preparing some Carne Asada.

What’s that? Don’t live 100 miles from the Mexican border?

Carne Asada is seasoned flap meat, cooked nearly well done and usually served in tacos or burritos. It is best grilled. Serve it with your favorite Mexican condiments. I prepared fresh salsa, chopped avocado and a cheese called queso fresco. Sour cream, shredded cheese and jarred salsa would do just fine. Tortillas too, of course. I now owe you a post on salsas and condiments. Soon. For today we’ll focus on the meat.

Ah yes, the meat. But what is flap meat? So many questions. Flap meat is a cut found in the bottom sirloin. It’s cheap, well marbled (fatty) and very thin. Buy it in hispanic grocers by the pound. The French call it “bavette”, some South Americans call it “vacio”. I call it delicious.  If you can’t find it, use skirt steak or anything you can find that is thin and flat.

Serves 6-8. Takes between 30-60 minutes.

  • 3 pounds flap meat
  • 10 limes
  • Your favorite chili powder (I used a ground New Mexico Chile with medium heat)
  • kosher or sea salt
  • oil

See? Easy as pie. Not that pie is easy. Especially if you’re preparing your own crust.

sprinkle sprinkle

sprinkle sprinkle

Flap meat is often sold in a bag. Keep it in there for a moment and splash some olive oil on it, enough to cover most of the meat with a light layer. Shake it up, then lay it out flat on a platter or a sheet pan if available. I used foil to keep the amount of dishes down. Sprinkle a layer of salt on both sides of the meat and a layer of chili powder on one side. Repeat this on all the steaks.

Set aside. 5 minutes? Half hour? Overnight? Your call. The salt tenderizes the meat while making it delicious so you do have some incentive to wait. If you’re in a hurry, say you want to stop cooking and watch football, rush this part. No biggie.

burn fire burn

burn fire burn

Get your fires hot. Medium high / high on a gas grill, if you’re using charcoal you’re obviously not in a hurry. Get a nice pile of coals going and have a beer. Enjoy your task. Just before you put the steaks on the grill dress with lime juice. Give them a minute. Place the steaks on the grill, add more lime juice and let them cook. You do not want your flap meat cooked to medium rare. You need to cook it so the fat and proteins start to break down. Char that side, flip, add more lime juice.

Chop up your limes into quarters and halves and heat some tortillas wrapped in foil on a less hot part of the grill. It helps to flip the tortillas like pages in a book before you heat them. You don’t want them to heat up and fuse together.

When the steaks are well done and have some burnt edges, pull them off the grill and dice them up good.

Serve with tortillas and bowls of Mexican condiments. Grab a plate. Go sit down and watch the game.

Pay no attention to the carnitas on the right

Pay no attention to the carnitas on the right

Tagged , , , , ,

Turkey Barley Soup

Day 5.

It’s been 4 days since the Thanksgiving feast. Our cravings for holiday fare have subsided a bit. Once bountiful supplies have dwindled and a storm has blown over the Los Angeles Basin. It’s cold, dark and wet outside. We are running our artificial lights during daylight hours. The doors and windows are shut tight, the heat has been turned on. Even the ceiling fans have been silenced. It will be days until we see 70 degrees again. These are truly the dark days of winter here in Southern California. I am left with no choice. I must make a soup to nourish my friends and family and boost morale. We will find comfort in homemade stock and thyme and rosemary. We will find inspiration in the turkey who sacrificed himself for this noble task. We will carry on.

Smells like health

Smells like freedom.

Turkey Barley Soup.

Hopefully you took the stripped down turkey carcass and boiled it in water for 2 hours last Thursday. Tell me you did. (It’s ok if you didn’t, just a missed opportunity on both of our parts) For now, let’s assume you did.

That means you have about a gallon of liquid gold, err turkey stock. That’s a good start.

So check your kitchen or head to the store. For this you’ll need:

90 minutes (The barley takes over an hour to cook. Rice or quinoa would take half that)

Leftover Turkey (a couple handfuls will do)

2-4 celery stalks

2-4 carrots

1 onion (or a leek, or 2-3 shallots)

a cup of uncooked barley (rice, quinoa, pasta too)

8 cups homemade turkey stock (or store bought chicken / vegetable broth)

1/2 of a lemon

2 cloves of garlic

Thyme

Rosemary

Sage

Salt 

Pepper

Olive Oil

Chop the leek into thin strips and toss it into hot olive oil. Salt and pepper it. Chop up the garlic and toss add that too.

soon

soon

Break down the carrots and celery into small uniform pieces. Big chunks work too, it just cooks faster and is easier to eat in smaller pieces. Put that all in with the onions, stir and add salt and pepper.

Give that a few minutes. Use that time to clean, organize and get your herbs out. I had a lot of fresh ones leftover from Thanksgiving so they needed to be broken down and chopped. Lots of thyme (if dry, cover the surface of the liquid in 2 layers, if fresh, use a loose handful), half as much rosemary, half of that in sage. It really it doesn’t matter much and is to your personal preference. We’re making soup. Add more as you go. It’ll be delicious.

Pour in the broth and add the herbs. Salt and pepper again. Add the turkey and barley and set on medium high heat with the cover on.

This is when I clean up the kitchen. (again) I like it tidy when I cook. It keeps things moving smoothly. By the time you’ve wiped down the counters and washed up your prep dishes the soup should be boiling. Give it 45 minutes with an occasional stir. By then things should be pretty close to done. Take the lid off and keep it on medium high for another 30 minutes. At this point you should be checking in every ten minutes or so. Have a taste. (HOT!) Does it taste like soup yet? If not give it more time. The color, smell and taste of the soup will shift when it’s done. I’m sure there is a scientific reason for it but I like to think that the separate ingredients finally yield to each other and collapse into a group hug. If you’re watching the broth you’ll be able to tell.

Right at the end I turn off the heat entirely and squeeze the half of a lemon into the whole mixture. This lets the flavors settle in and the soup cool enough for people to eat. I took a fresh baguette smeared with olive oil and broiled it in the oven for a few minute. The soup was served in mugs. Six people ate, several had seconds. Nothing was left behind.

Instagram @mancookgood

Twitter @mancookgood

Tagged , , , , ,
%d bloggers like this: